
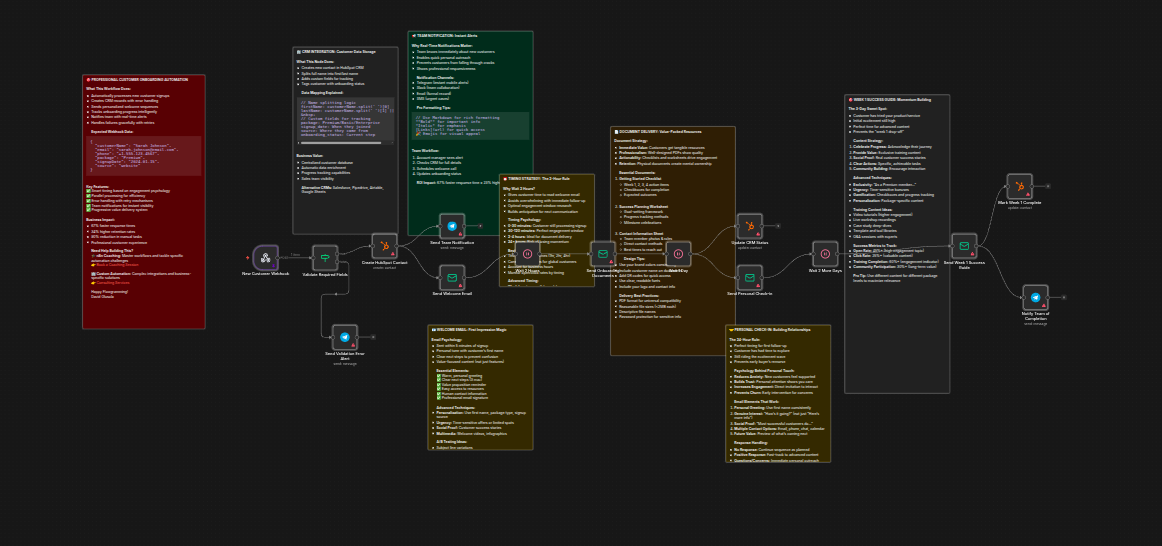
✅ How It Works
This smart onboarding automation handles new customer signups by:
- Receiving signup data via webhook
- Validating required customer info
- Creating a contact in HubSpot CRM
- Sending a personalized welcome email
- Delivering onboarding documents after 2 hours
- Sending a personal check-in email after 1 day
- Sending a Week 1 success guide after 3 days
- Updating CRM status and notifying the team at each milestone
It’s designed for professional onboarding, with built-in timing, CRM integration, and smart notifications to improve engagement and retention.
🛠️ Setup Steps
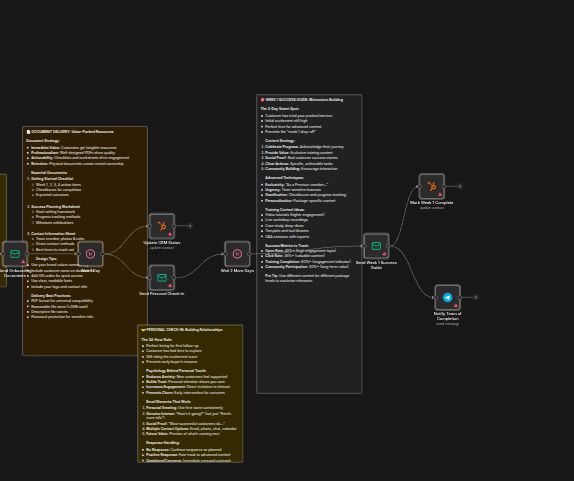
1. Create Webhook
Add a Webhook node in n8n with POST method — this triggers when a new customer signs up.
2. Validate Customer Data
Add an IF node to check if email and customerName are present.
3. Create CRM Contact
Use a HubSpot node to create a new contact, map fields (e.g., split name into first/last).
4. Send Notifications
Add a Telegram or Slack node to alert your team instantly.
5. Send Welcome Email
Use an Email Send node for a warm welcome, customized with customer details.
6. Wait 2 Hours
Add a Wait node to delay next steps and avoid overwhelming the customer.
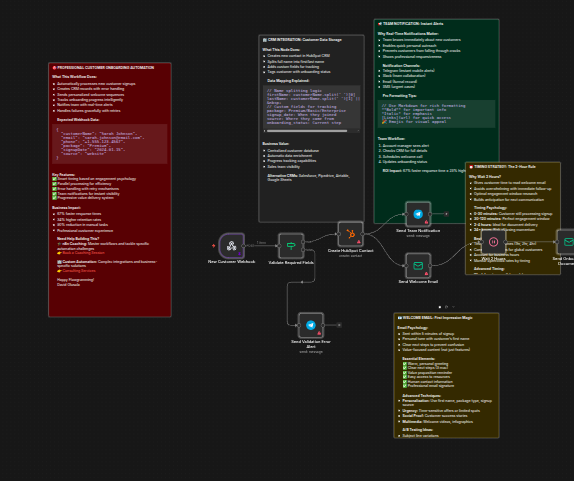
7. Send Onboarding Documents
Use another Email Send node to deliver helpful PDFs or guides.
8. Wait 1 Day & Send Check-in
Another Wait node, followed by a personal check-in email using the customer’s name.
9. Wait 2 More Days & Send Success Guide
Deliver Week 1 content via email to reinforce engagement.
10. Update CRM & Notify Team
Use HubSpot to update status and Telegram/Slack to notify your team of completion.
Read more
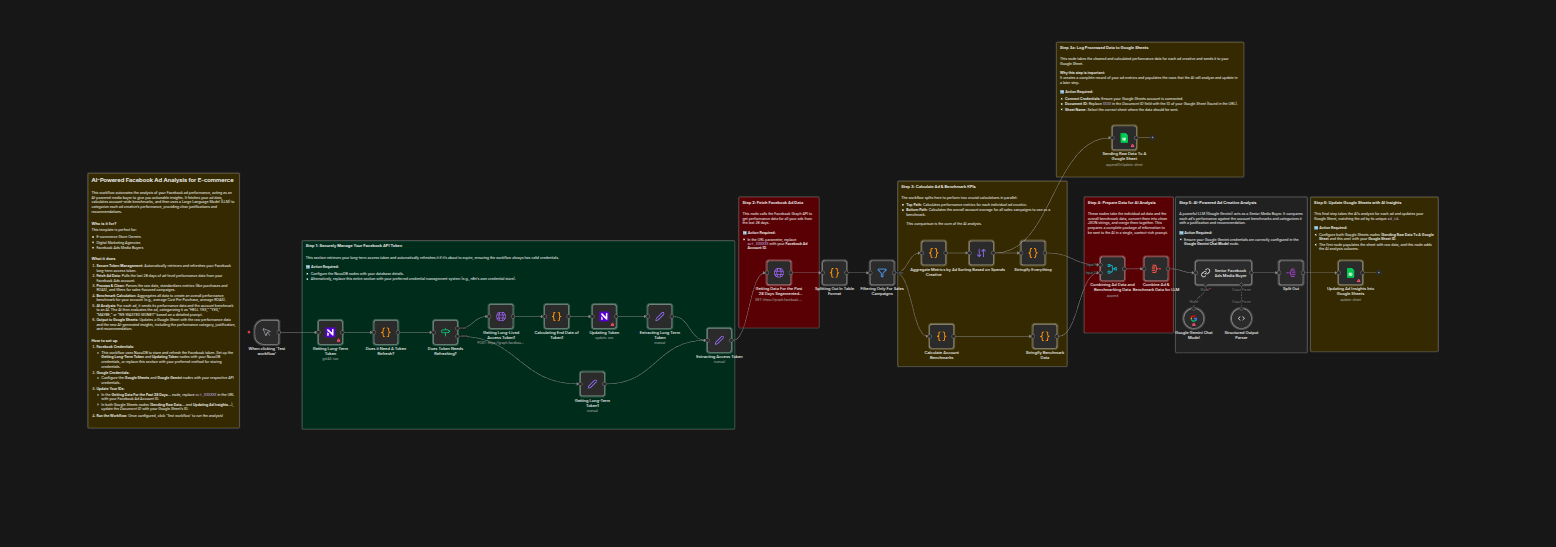
Analyze Facebook Ads & send insights to Google Sheets with Gemini AI
Stop manually digging through Meta Ads data and spending hours trying to connect the dots. This workflow turns n8n into an AI-powered media buyer.
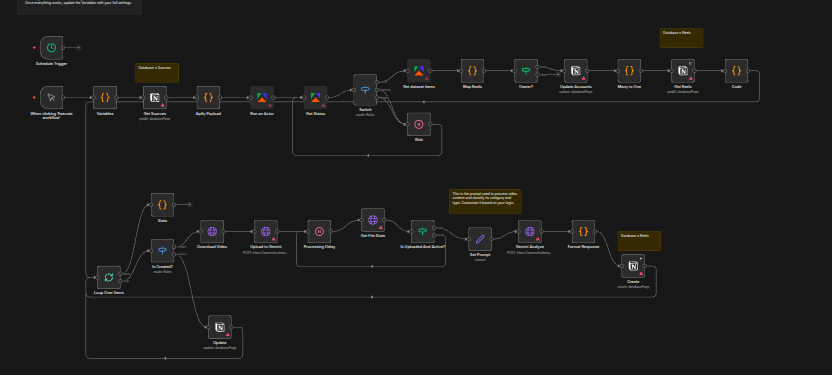
Top-performing Instagram Reels & save insights to Notion with Gemini & Apify
Learn how to discover trending Instagram Reels from competitors and organize insights into a structured Notion database using Gemini AI and Apify.
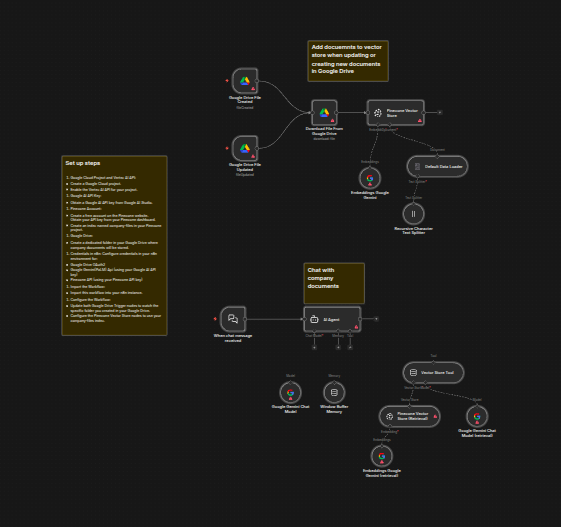
RAG chatbot for company documents using Google Drive and Gemini
Implement a Retrieval Augmented Generation (RAG) chatbot that answers employee questions based on company documents stored in Google Drive using Gemini AI.